Help / Setting up the smartsystem with Pico 4 Ultra
Setting up the VR Coach® smart system
with Pico 4 Ultra
Hardware setup and software launch
Preparing the laptop
If you purchased the laptop from us, all the required programs are already installed.

However, it is necessary for you to register an account on Steam. Open Steam, register an account there, and stay logged in.
Keep the laptop plugged in at all times, as VR content drains the battery very quickly.
Preparing the headset
Charge the headset for a while after unpacking, so you can complete all the setup steps afterward.
Turn on the headset and follow the instructions. You will need to connect the headset to a Wi-Fi network and create a Pico account. Additionally, there will likely be one or more updates to install.
Connecting the headset with the laptop
We assume that you want to use the headset wirelessly and have a Wi-Fi router or another suitable Wi-Fi network available for this purpose. The laptop and the headset must be connected to the same Wi-Fi network.
Assuming both devices are turned on and connected to the same Wi-Fi network, the following steps are required to connect and launch our software:
1. Open Pico Connect on your laptop.

2. Also open Pico Connect on the headset.
First, click on the library and then select Pico Connect from the app selection. After that, click on Connect.


3. Start SteamVR
You will now see the desktop view of your laptop in the headset. In the top right, it will say “Open SteamVR.” Please click on it. Shortly afterward, you will see the SteamVR environment in the headset.

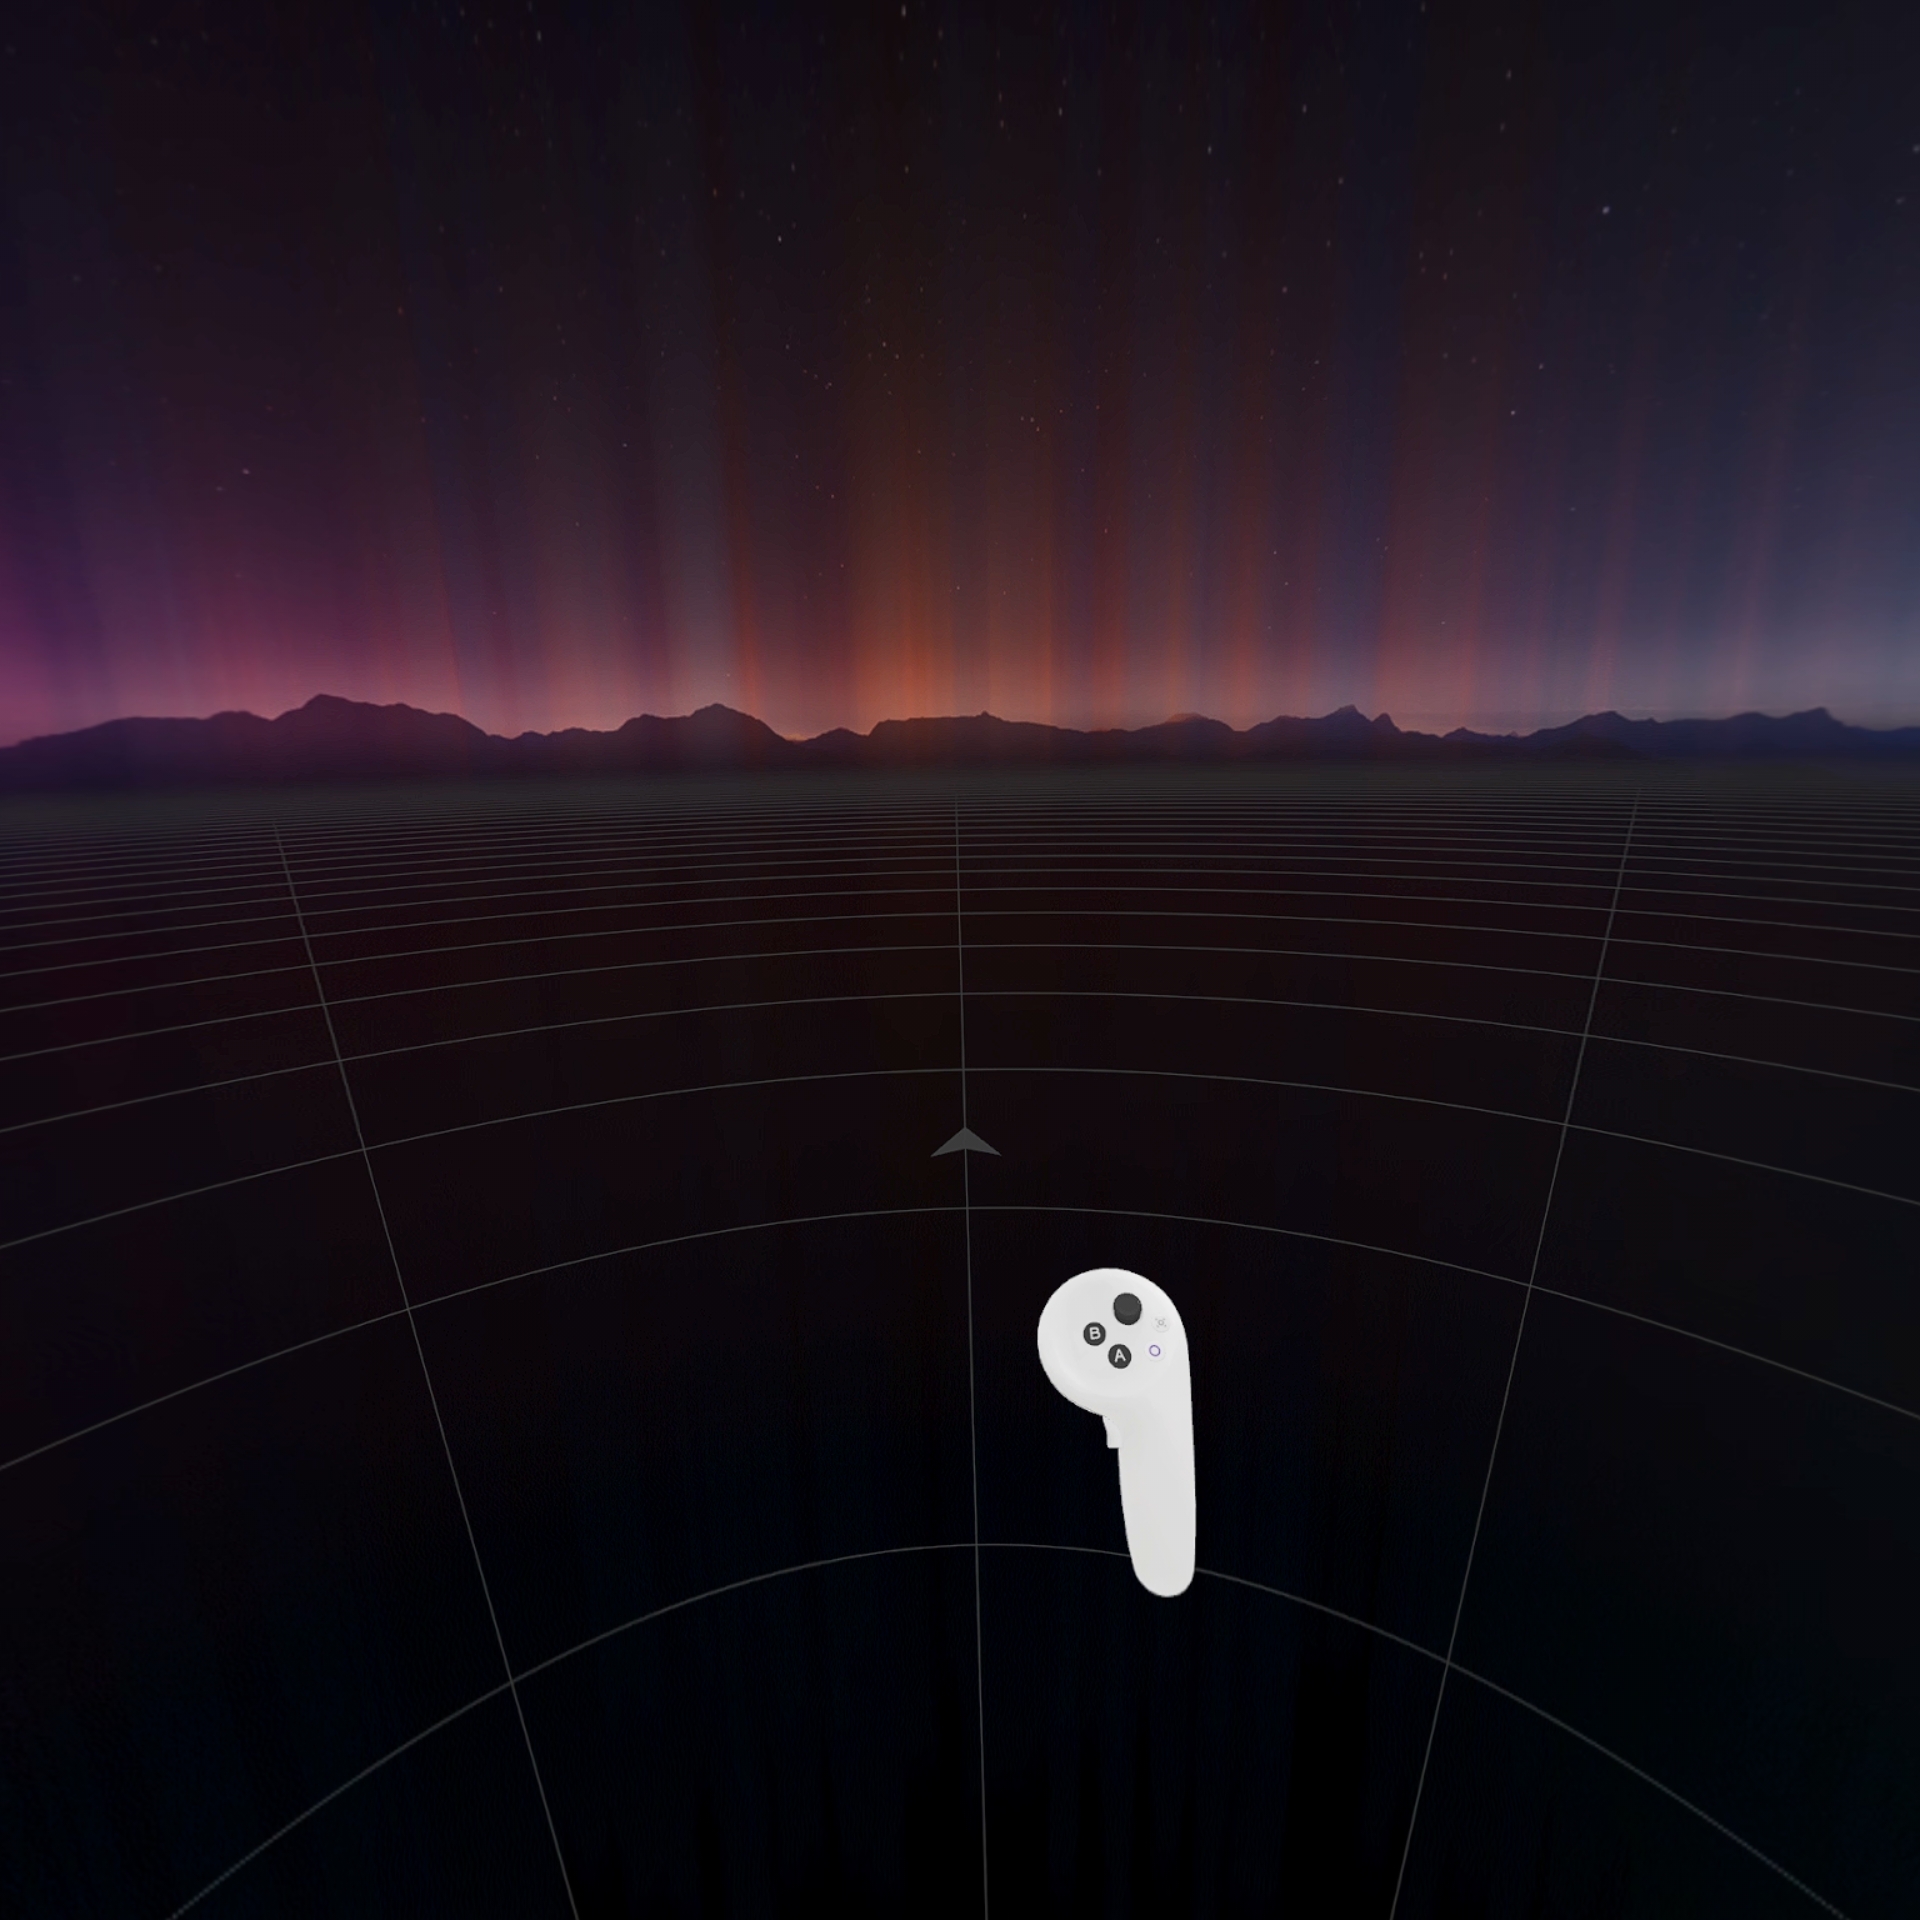
4. Start VR Coach
Once you see the SteamVR environment in the headset, open one of the VR Coach software packages on your laptop. You should have the headset already partially on so that it is in active mode. Shortly afterward, you will see the loading process of the VR Coach software in the headset.

Information about the room boundary
When you turn on the headset for the first time, a room boundary must be confirmed. This is the area in which you can move freely using body tracking. If you leave this area, the headset’s cameras will activate, and you will see the real-world environment.
Even when using the headset in a new room, this setting must be made.
The headset will automatically suggest a room boundary. Since this is very small, we recommend manually setting the boundary and drawing a very wide circle. This will prevent patients from constantly seeing the boundary lines.


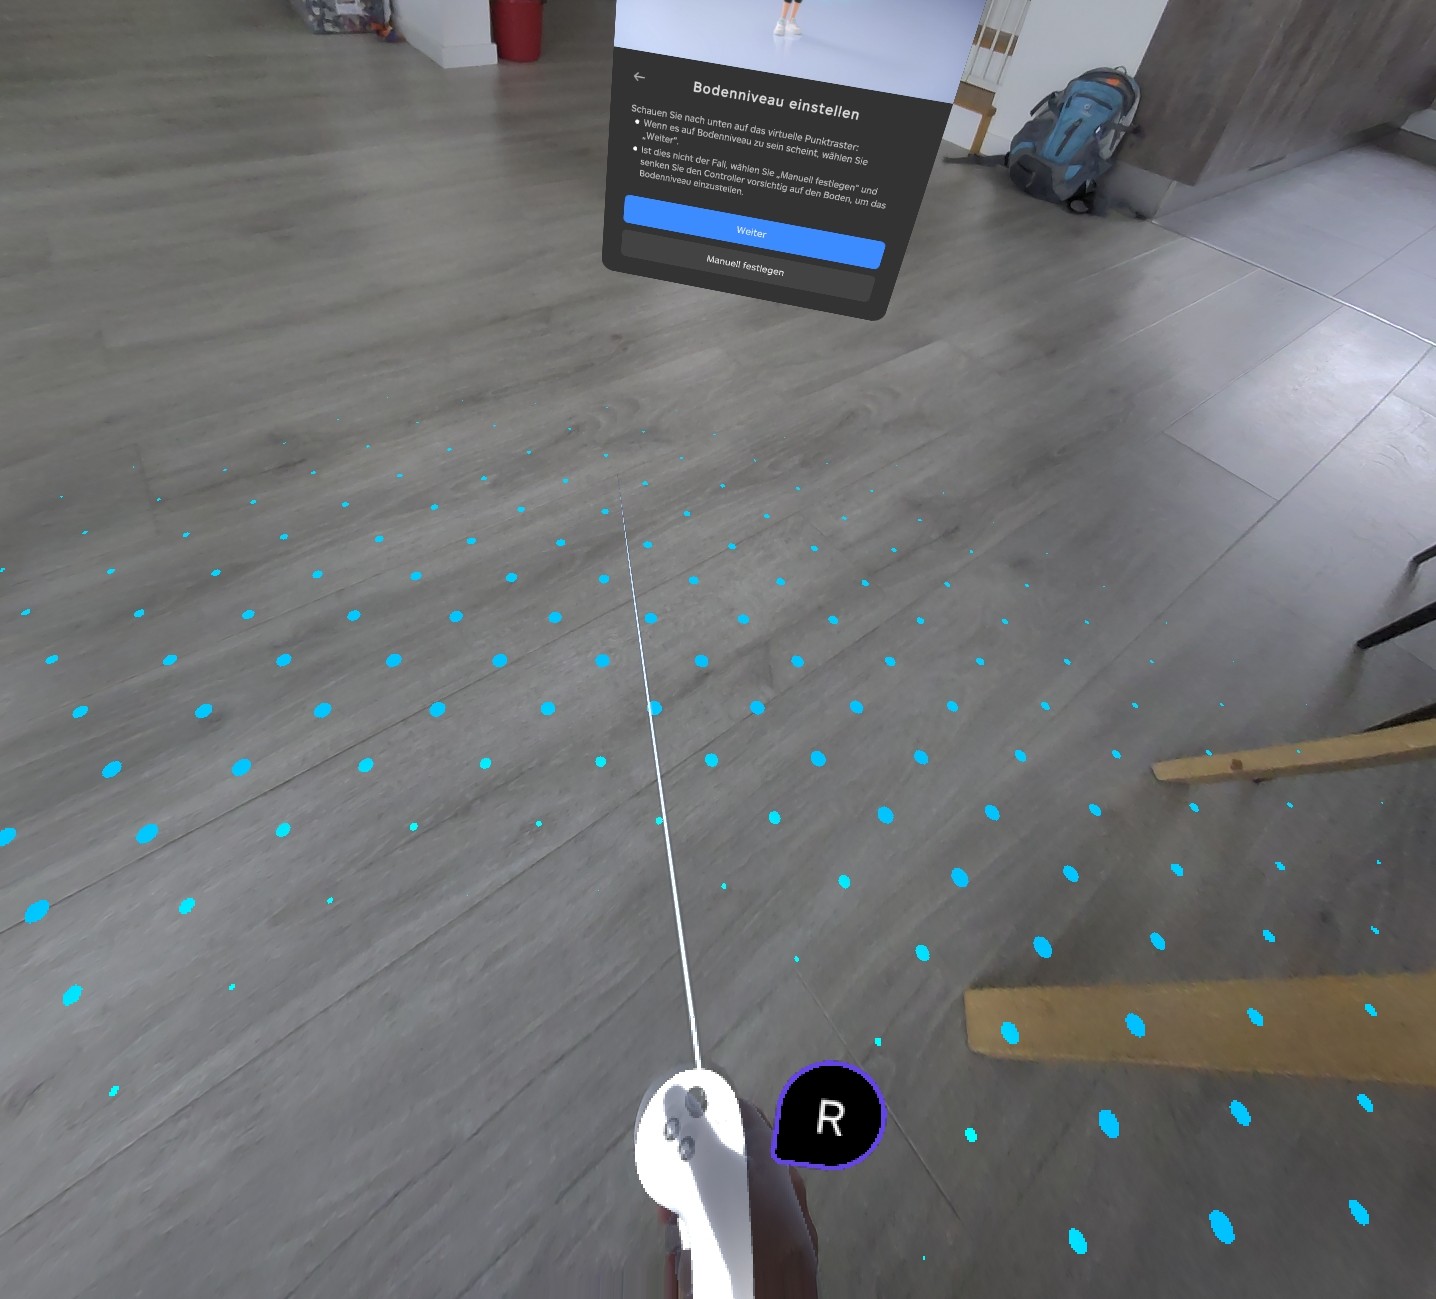
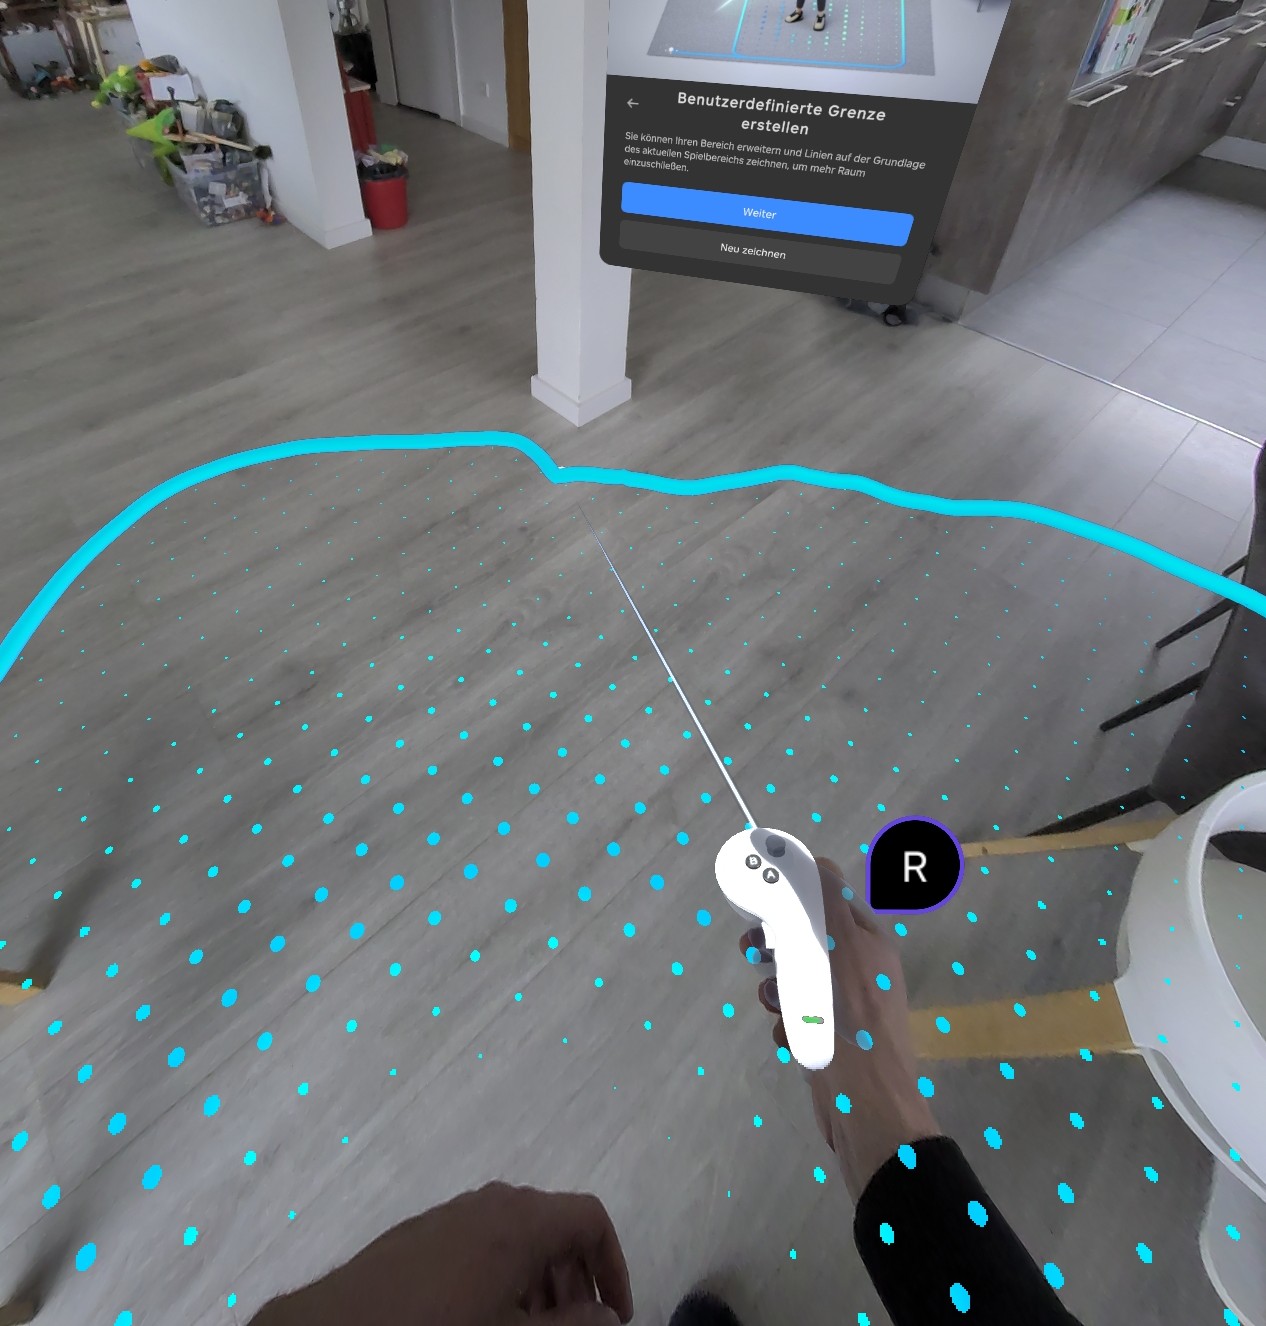
The next time you use the headset in this room, you can directly confirm the set room boundary and will not need to make this setting again.
Information about the wired version
If you don’t have a suitable Wi-Fi network for wireless use, you can also use the headset with a wired connection. For this, you will need a compatible streaming cable, such as this one.
The laptop only needs to be connected to the internet; the headset no longer needs to be.
The USB plug of the cable must be connected to the laptop’s USB-A port. This is the USB port with a blue interior.
The process for the connection is the same as with the wireless version. First, connect the cable, then open the Pico app on your laptop, and so on.
If you don’t find answers here, we are happy to assist you by phone or email!